Open Season
At Paylogic we have something called OpenSeason. Each season we decide upon an interesting technology that we will tinker with for a season. At the last Friday of the season we'll have a show-off and lots of beer. It's really nice.XFX: handheld guitar effects controller for Reason
OpenSeason Autumn 2012 was about Arduino. That was the chance to finally implement what I always wanted as a guitarist: A handheld controller for Propellerheads Reason. Such a controller would allow me to use sensors to control any of the awesome software effects devices that Reason offers. The big advantage over general guitar effects pedals is that the effects Reason offers are way beyond anything you can get in regular guitar effects pedals, and that you can control them by hand. I devided to call this thing XFX (as in 'axe effects).The project is not finished yet, but it already works in rudimentary form, and I wanted to share my findings with you anyway. So here is what I came up with.
Implementation
First thing I had to decide upon was which sensors I was going to use (I already had an Arduino). Since I had no idea which sensors you could use, and how they could be used, I spent an evening browsing dx.com. I was flabbergasted by the sheer amount of sensors, tools, add-ons, etc. they ship for the Arduino. And they ship for free! They even have very complete Arduino starter kits (which I discovered too late). Here is the list of components I bought.Breadboard Jumper Wires for Electronic DIY (70-Cable Pack)-80208 US$ 3.50
JY-MCU Arduino Bluetooth Wireless Serial Port Module-104299 US$ 8.60
Thumb Joystick Module for Arduino - Black-121340 US$ 3.20
HC-SR04 Ultrasonic Sensor Distance Measuring Module-133696 US$ 4.00
Arduino Tilt Switch Sensor Module - Black-135528 US$ 1.90
Arduino Infrared Obstacle Avoidance Detection Photoelectric Sensor-139741 US$ 5.60
BBR004 Mini Breadboard for Arduino Proto Shield - Red-140920 US$ 3.60
Three Axis Gyroscope Accelerometer Sensor Module for Arduino-148615 US$ 14.40
Capacitive Touch Keypad Module - Blue-151332 US$ 9.40
Angle Sensor Module for Arduino - Blue-152186 US$ 3.30
3 x 4 Matrix 12 Key Membrane Switch Keypad Keyboard w/ Sticker - Black-153995 US$ 3.90
At this stage I am only using:
JY-MCU Arduino Bluetooth Wireless Serial Port Module-104299
Thumb Joystick Module for Arduino - Black-121340
HC-SR04 Ultrasonic Sensor Distance Measuring Module-133696
3 x 4 Matrix 12 Key Membrane Switch Keypad Keyboard w/ Sticker - Black-153995
Once the equipment arrived it was time to think out the signal flow. In short, what I wanted to accomplish was the following flow:
Sensor => Arduino =[Bluetooth]=> Computer => Python => Reason
Step 0: Setting up Arduino
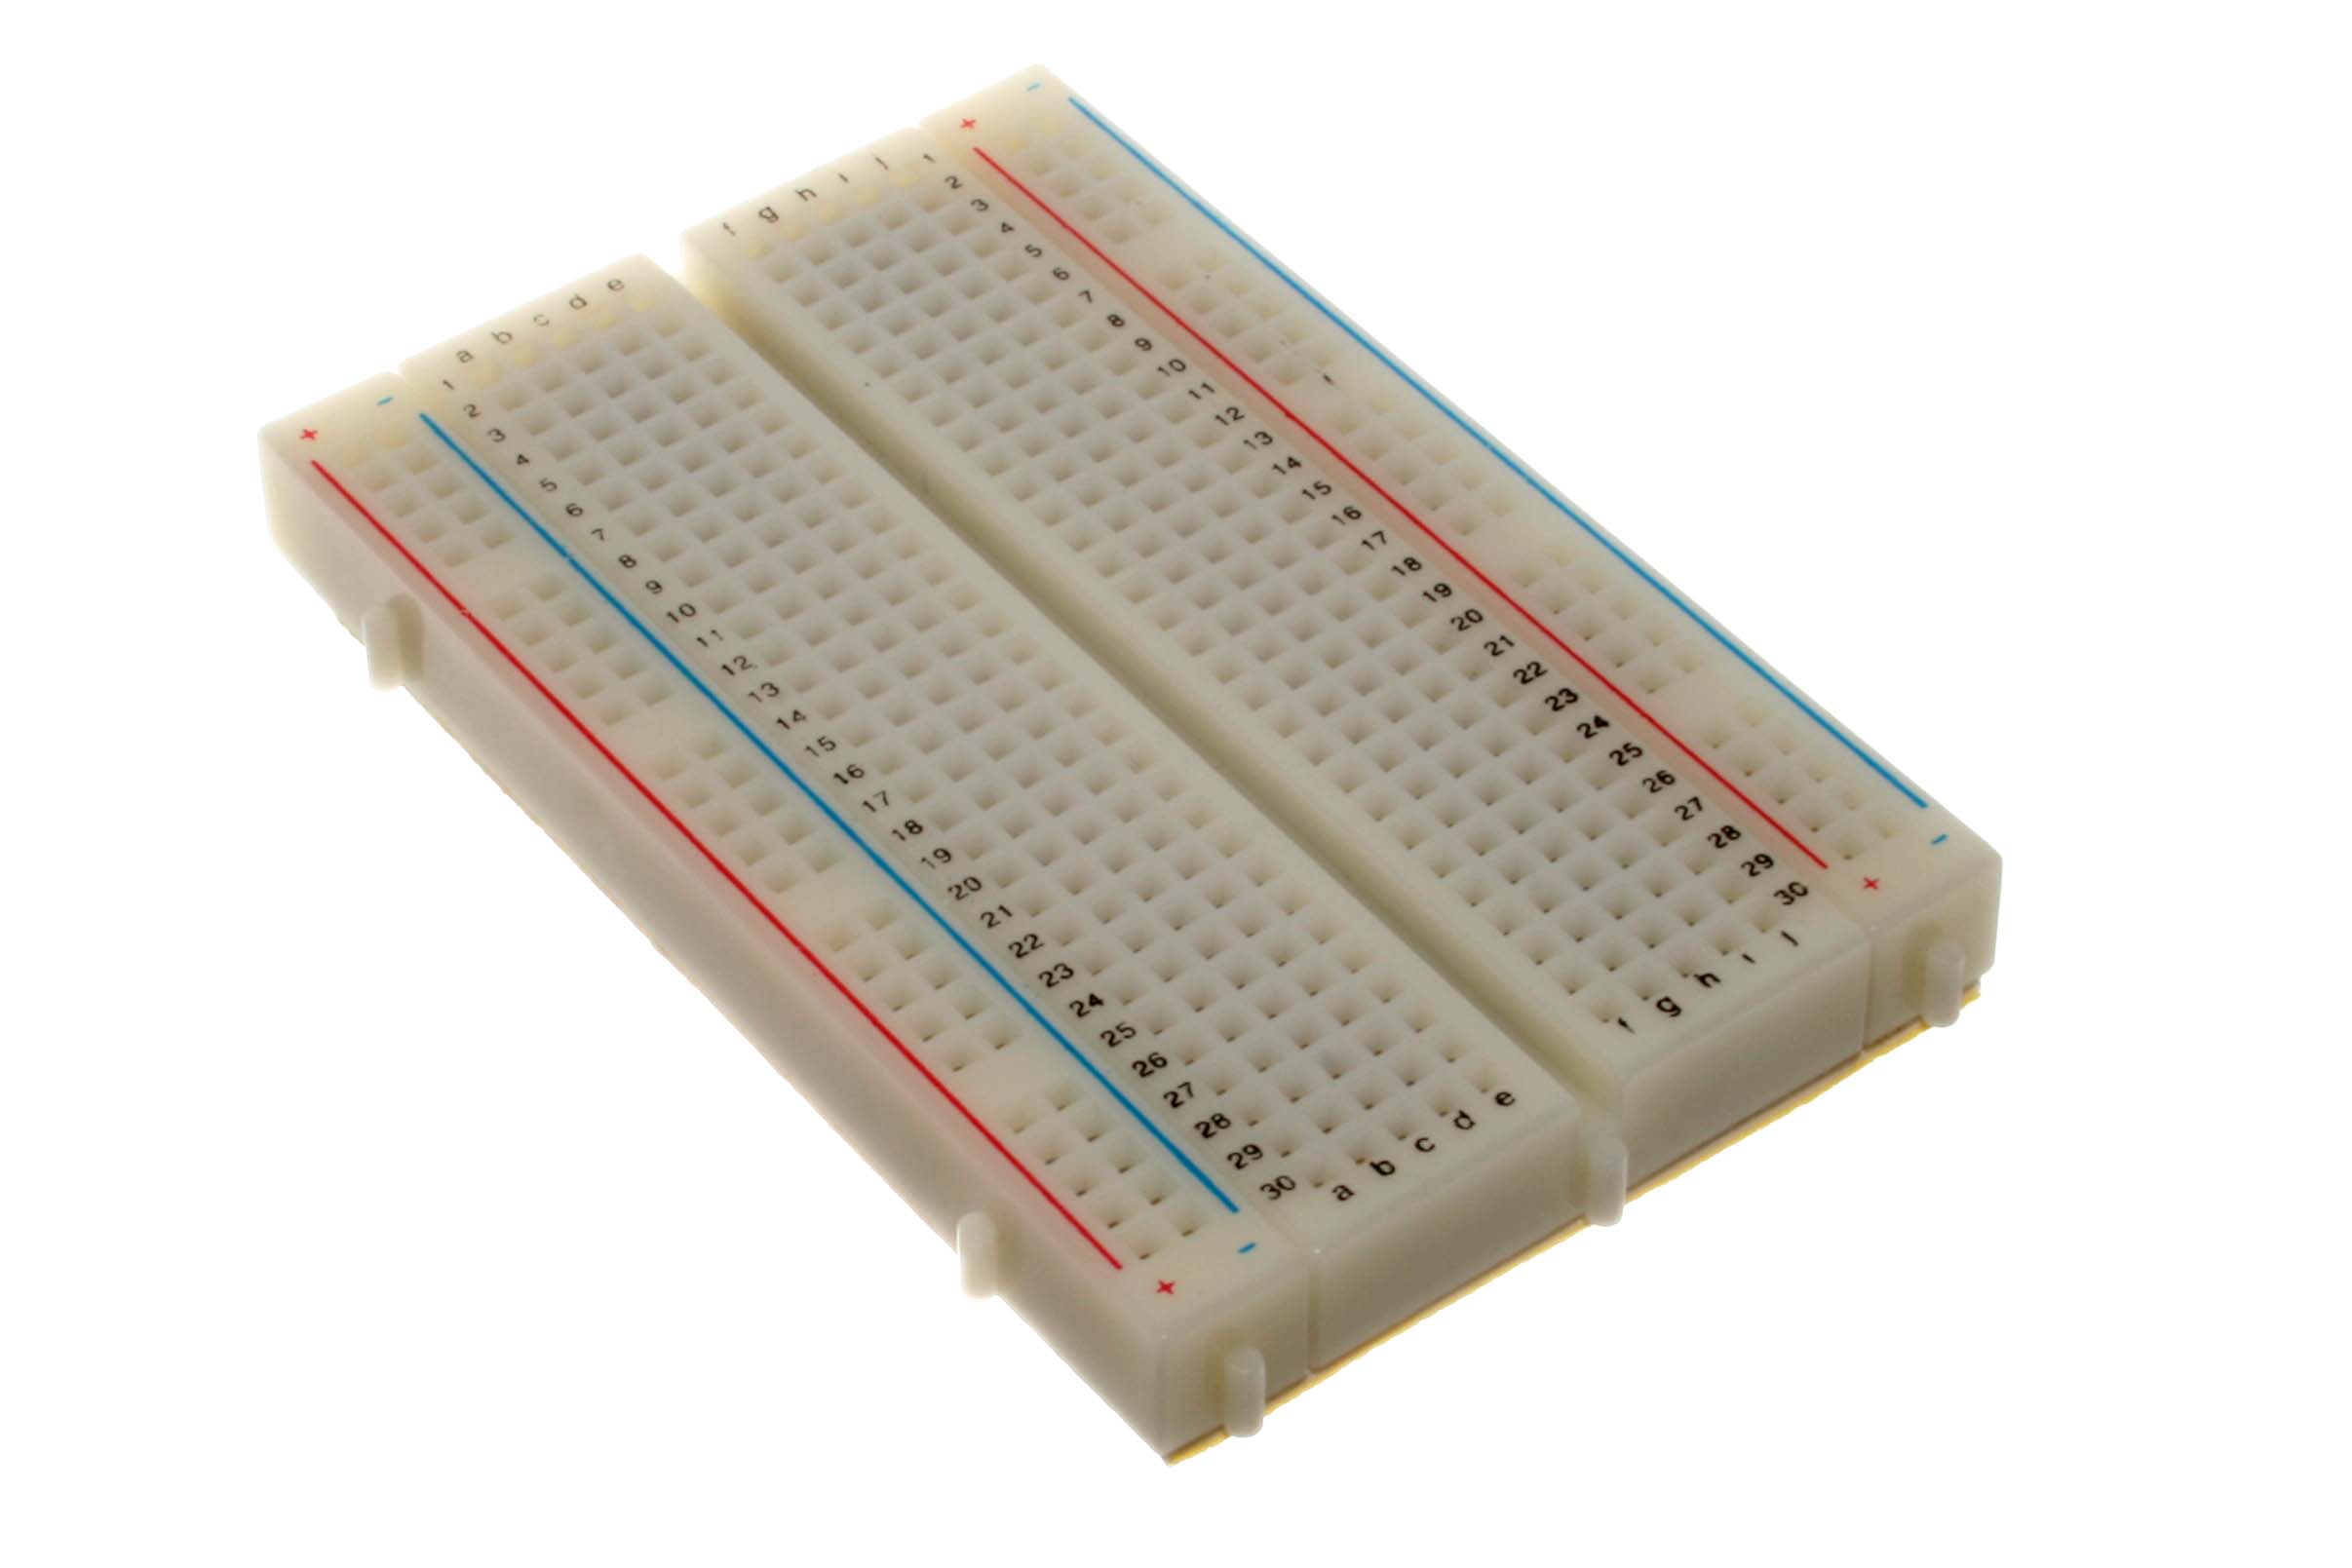
Since I planned to connect tons of sensors to my Arduino I figured it would be best to use a breadboard. And since I was rather ambitious I decided to use a large breadboard. They come in different sizes and layouts, but most of them look something like this:
Step 1: Hooking up the joystick

Next step was to hook up the thumb joystick. Although the joystick came without a manual and there is actually no online documentation, setting it up was pretty simple. Just hook up VRx and VRy to analog in pins 4 and 5 of the Arduino.
The VRx and VRy pins send integer values between 0-1024 for the X and Y axes. In rest position the joystick sends out aproximately 512 and 512
Step 2: Hooking up the ultrasonic distance measuring module

Next up was the ultrasonic (echo) distance measuring sensor. Here's a video tutorial how to set it up. I recommend to use the NewPing library. It offers all kinds of useful functions, such as the option to use the same pin for the trigger and the echo. This saves an input pin on the Arduino. I ended up connecting it to digital pin 9.
The maximum distance the sensor can read is about 5 meters. The NewPing library gives you the option to only get integer values within a certain range. The sensor sends the values in centimeters. I've set it up as follows in the Arduino sketch.
// Maximum distance to ping (in centimeters). Maximum distance is ~400-500cm.
const int MAX_SONAR_DISTANCE = 50;
// NewPing setup of pin and maximum distance.
NewPing sonar(SONAR_PIN, SONAR_PIN, MAX_SONAR_DISTANCE);
// cm = u_sec / US_ROUNDTRIP_CM
print(u_sec / US_ROUNDTRIP_CM);
Step 3: Hooking up the 12 key membrane keypad

I also wanted to use a matrix keypad, so the above is what I bought as well. Again, there is no manual whatsoever to be found online. The keypad doesn't even have a brand or parts number. Fortunately there is a useful Keypad library for Arduino that makes it a breeze to set this thing up. Adafruit sells the same keypad and has a useful tip for swapping the # and * keys. The keypad sends the pressed key as a character ('#', '0', etc.)
Step 4: Hooking up the Bluetooth module

After that you would normally hook up the Bluetooth sensor as follows:
5v Arduino -> VCC
GND Arduino-> GND
TX(1) Arduino -> RXD
RX(0) Arduino -> TXD
This works, but the problem is that this setup uses the RX/TX of pins 0/1, which is also used by the USB serial communication. In other words, it is either the Bluetooth serial communication, or the USB serial communication. This is problematic if you want to send debugging information via the USB serial connection while also using Bluetooth serial communication.
Fortunately there is an excellent library called SoftwareSerial that allows you to us other pins (e.g. 10/11) for another serial connection. This allows you to simultaneously use a serial for Bluetooth and one for USB (e.g. for debugging). Be sure to connect RX of the Bluetooth device to TX of the Arduino (or if you use SoftwareSerial, BT RX => pin 11, BT TX => pin 10)! Do not connect RX/RX and TX/TX.
Step 5: Check hardware setup
At this stage the setup looks as follows (sketch made with the excellent Fritzing open source tool).

I made a schematic representation of the different sensors (it would have taken me way to long to draw all sensors in SVG by hand). The images of the real sensors above should give you an idea about the connections. Download the real Fritzing file can be found in the XFX code repository. Use that e.g. to see the names of the different connections in a PCB schema.
And this is what it looks like in real life:

Step 6: Software: talk serial
Next step was to write an application that talks to the Arduino via the serial connection. So I wrote a Python application that you can find in the code repository. It is pretty straightforward, so you should be able to quickly figure out what's going on.
One thing to note is that it depends on the platform you're on what the name of the serial port will be. Under Windows you can use device manager to find the COM port the Arduino uses (“USB serial port”) (it is set at the top of xfx.py)
An interesting discovery for me was that Python allows for the construction of multiple context managers on one line:
Another interesting thing I found out was that you can use generators as context managers.
One of the biggest hurdles with the serverside code was getting it working on Windows... One indispensable resource was the Unofficial Windows Binaries for Python Extension Packages website. But still, getting Python, iPython (which is not an Apple animal), pygame, pyserial, git, etc. working on Windows took me a lot more time than I hoped for.
One thing to note is that it depends on the platform you're on what the name of the serial port will be. Under Windows you can use device manager to find the COM port the Arduino uses (“USB serial port”) (it is set at the top of xfx.py)
An interesting discovery for me was that Python allows for the construction of multiple context managers on one line:
with serial.Serial(serial_port, 9600) as serial_connection, MidiProxy() as midi_proxy:
Another interesting thing I found out was that you can use generators as context managers.
One of the biggest hurdles with the serverside code was getting it working on Windows... One indispensable resource was the Unofficial Windows Binaries for Python Extension Packages website. But still, getting Python, iPython (which is not an Apple animal), pygame, pyserial, git, etc. working on Windows took me a lot more time than I hoped for.
Step 7: Talk midi
The next problem was making the midi proxy talk midi to Reason. Reason listens to hardware midi ports, so you have to use a midi loopback ports. I found loopmidi was indispensible for virtual midiports. It allowed me to simply interconnect my midi proxy with Reason.
The midi proxy iterates over all available midi ports and initiates all the LoopMidi ports it finds as a midi output channel.
Step 8: Reason to listen midi

Here's Reason's midi implementation chart if you want to figure out which controller to send your messages to.
Step 9: Rock!
Next step is to run xfx.py in a terminal, fire up Reason, map the midi buses, and rock! Here are some pictures and a video of me demonstrating XFX to my colleagues.


The road ahead
Although the current implementation works it is far from finished. There are tons more sensors that I could hook up, for instance, but the most important next step is figuring out a form factor that would allow me to use the controller while actually playing guitar. There are many options. The XFX could be minimized so that it fits in your hand. It could be turned into some kind of glove. It could maybe be split up in a part that is attached to the guitar and a part that is held in your hand.If you want to experiment yourself, great! Go ahead, grab the source and impress us!
Final thoughts
As Richard Feynman rightfully said, it's all about the pleasure of finding things out. The journey has been really satisfying for me. I've learned a ton about open source hardware, MIDI, sensors, Python, Reason and GIT. And I am pleased with the result.This project was especially satisfying for me because, as some of you know, I've always had an interest in technologies that merge virtuality with reality. Ever since I read Neuromancer and the Web came into existence. And this was a nice opportunity with my other love: music. As Frank Zappa fittingly said:
“Information is not knowledge.
Knowledge is not wisdom.
Wisdom is not truth.
Truth is not beauty.
Beauty is not love.
Love is not music.
Music is THE BEST.”
- Frank Zappa